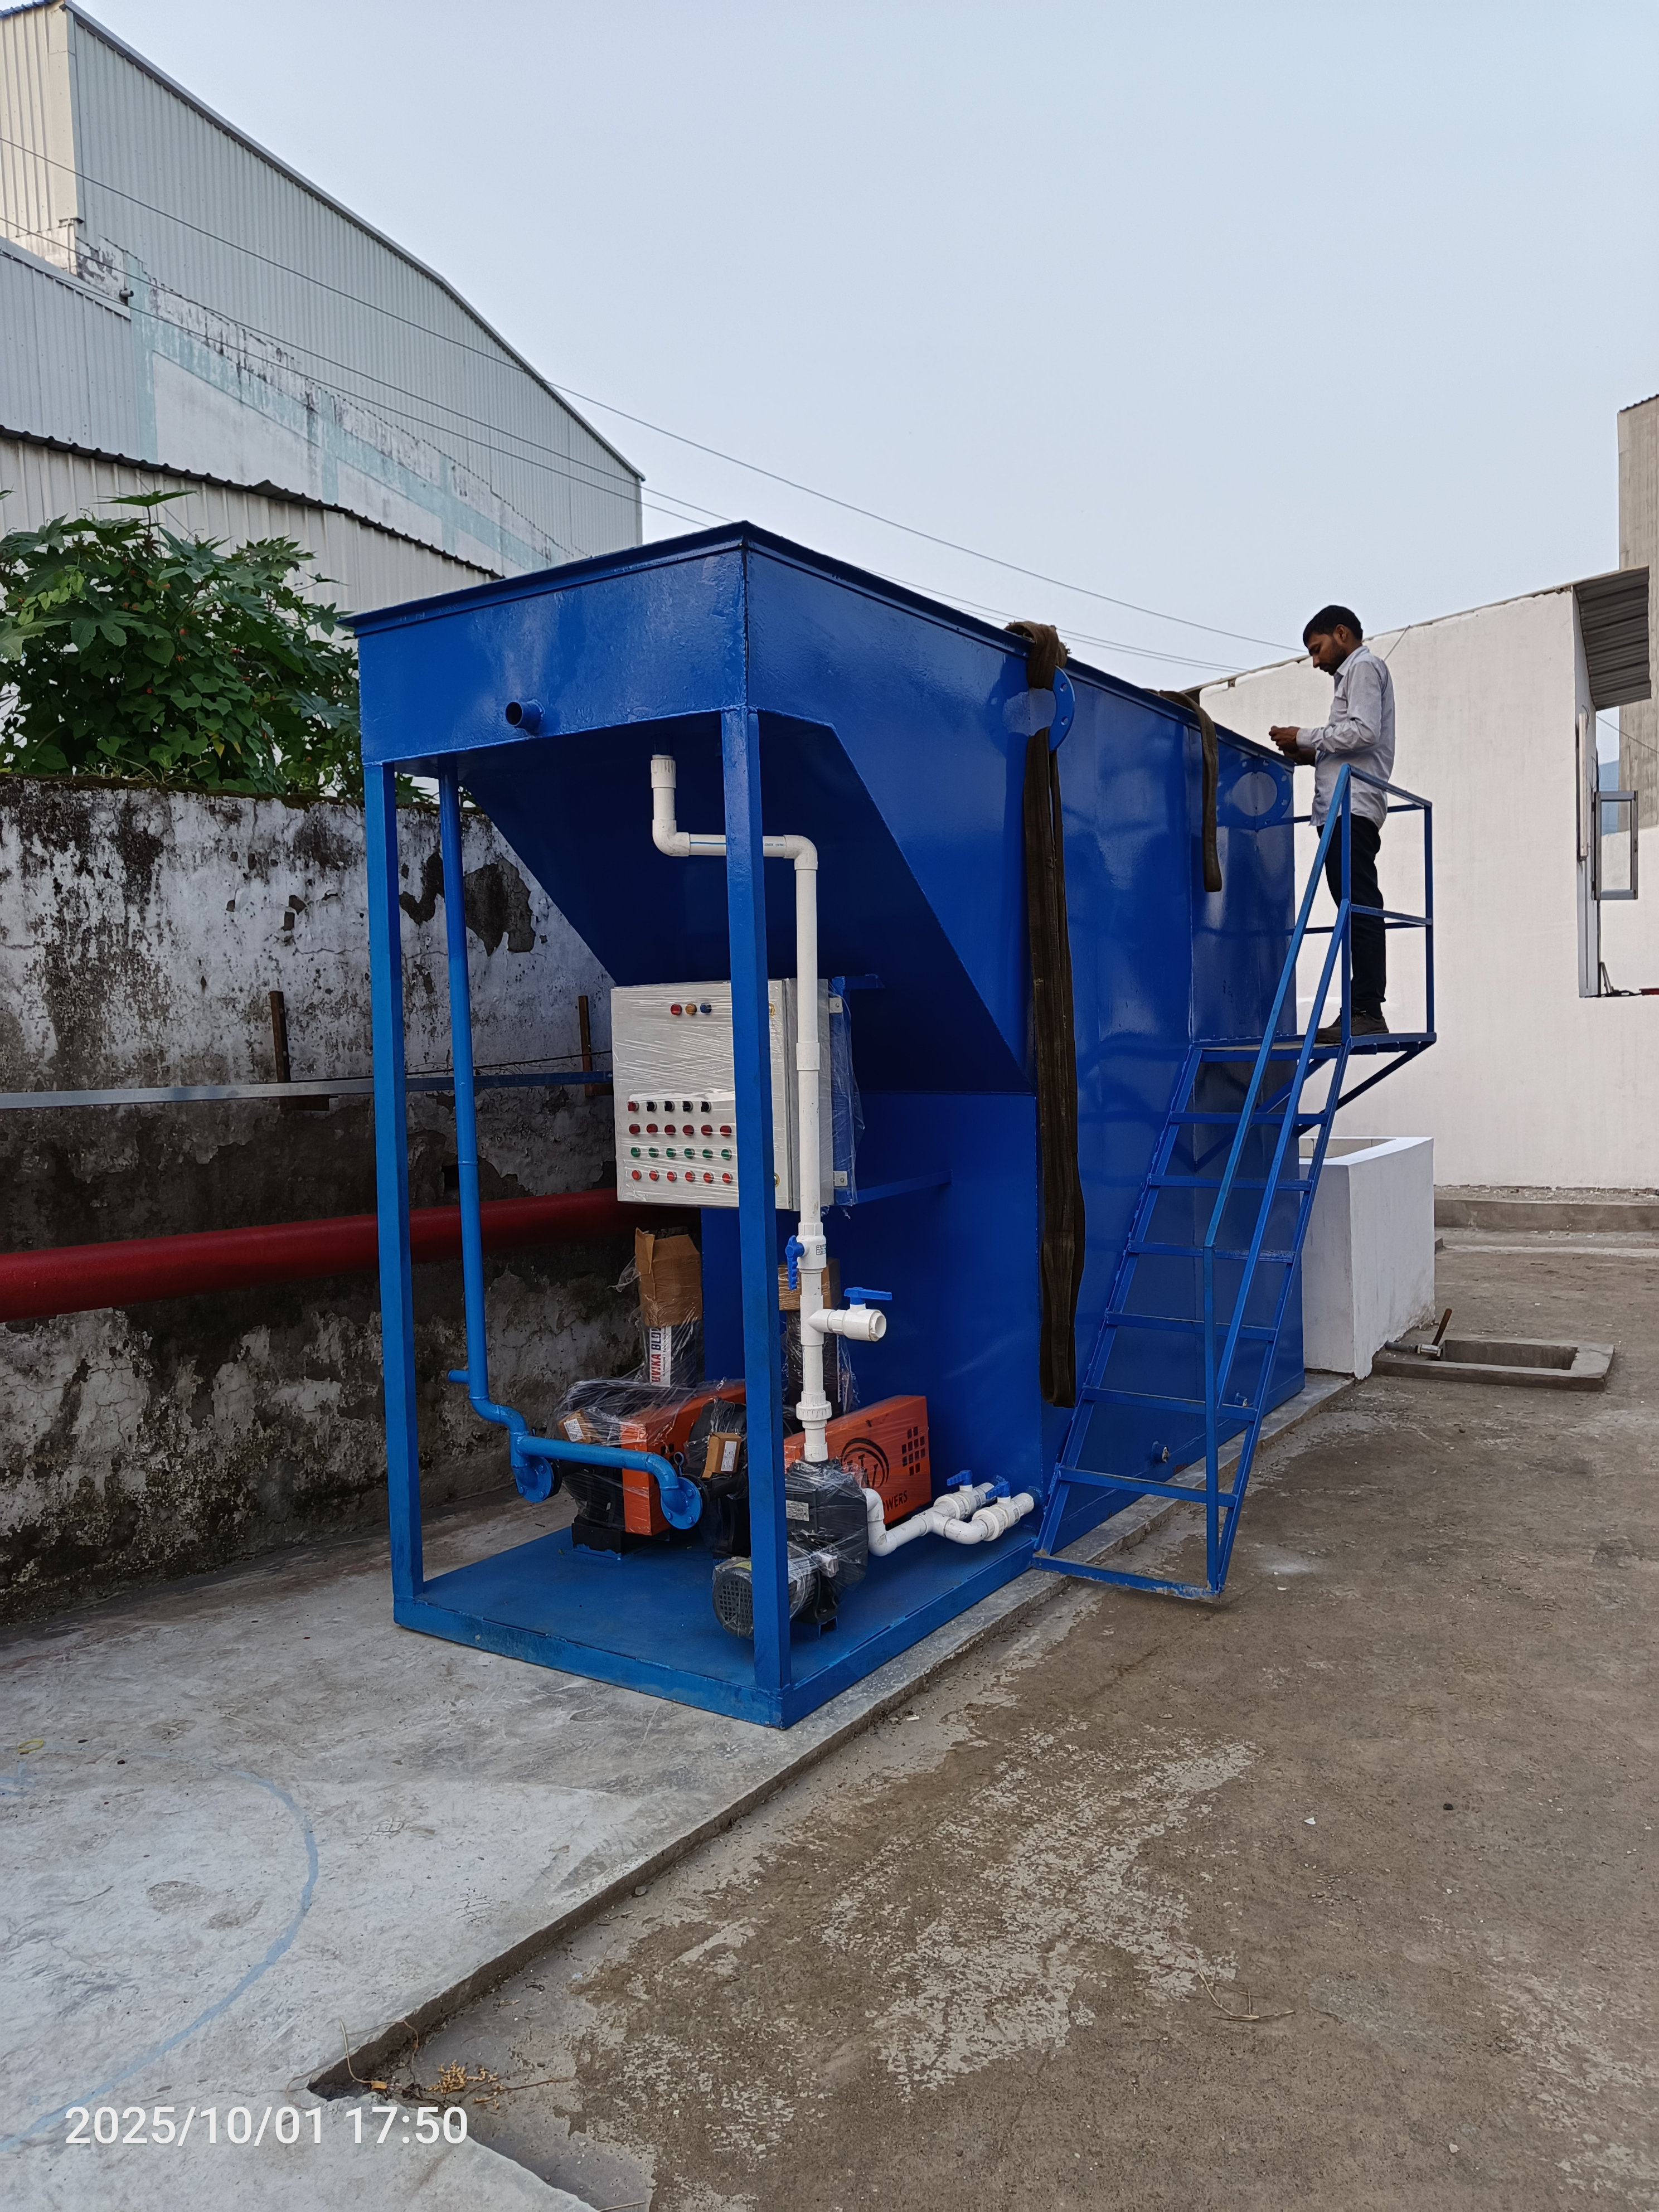
Upgrading your facility's HVAC or process cooling capacity often leads to the installation of a 120 TR (Tons of Refrigeration) cooling tower. At this capacity, the unit is large enough to handle significant commercial loads but requires precision during setup to ensure longevity and thermal performance.
In this guide, we’ll walk through the critical phases of a professional installation.
1. Pre-Installation Site Assessment
Before the crane arrives, your site must be vetted for two primary factors: structural integrity and airflow.
Support Structure: A 120 TR unit can weigh several tons when filled with water (operating weight). Ensure your roof steel or concrete pad is rated for this load.
Clearance Zones: To prevent "recirculation" (where the tower sucks its own hot discharge air back in), maintain at least 4–6 feet of clearance from walls or obstructions.
2. Rigging and Hoisting
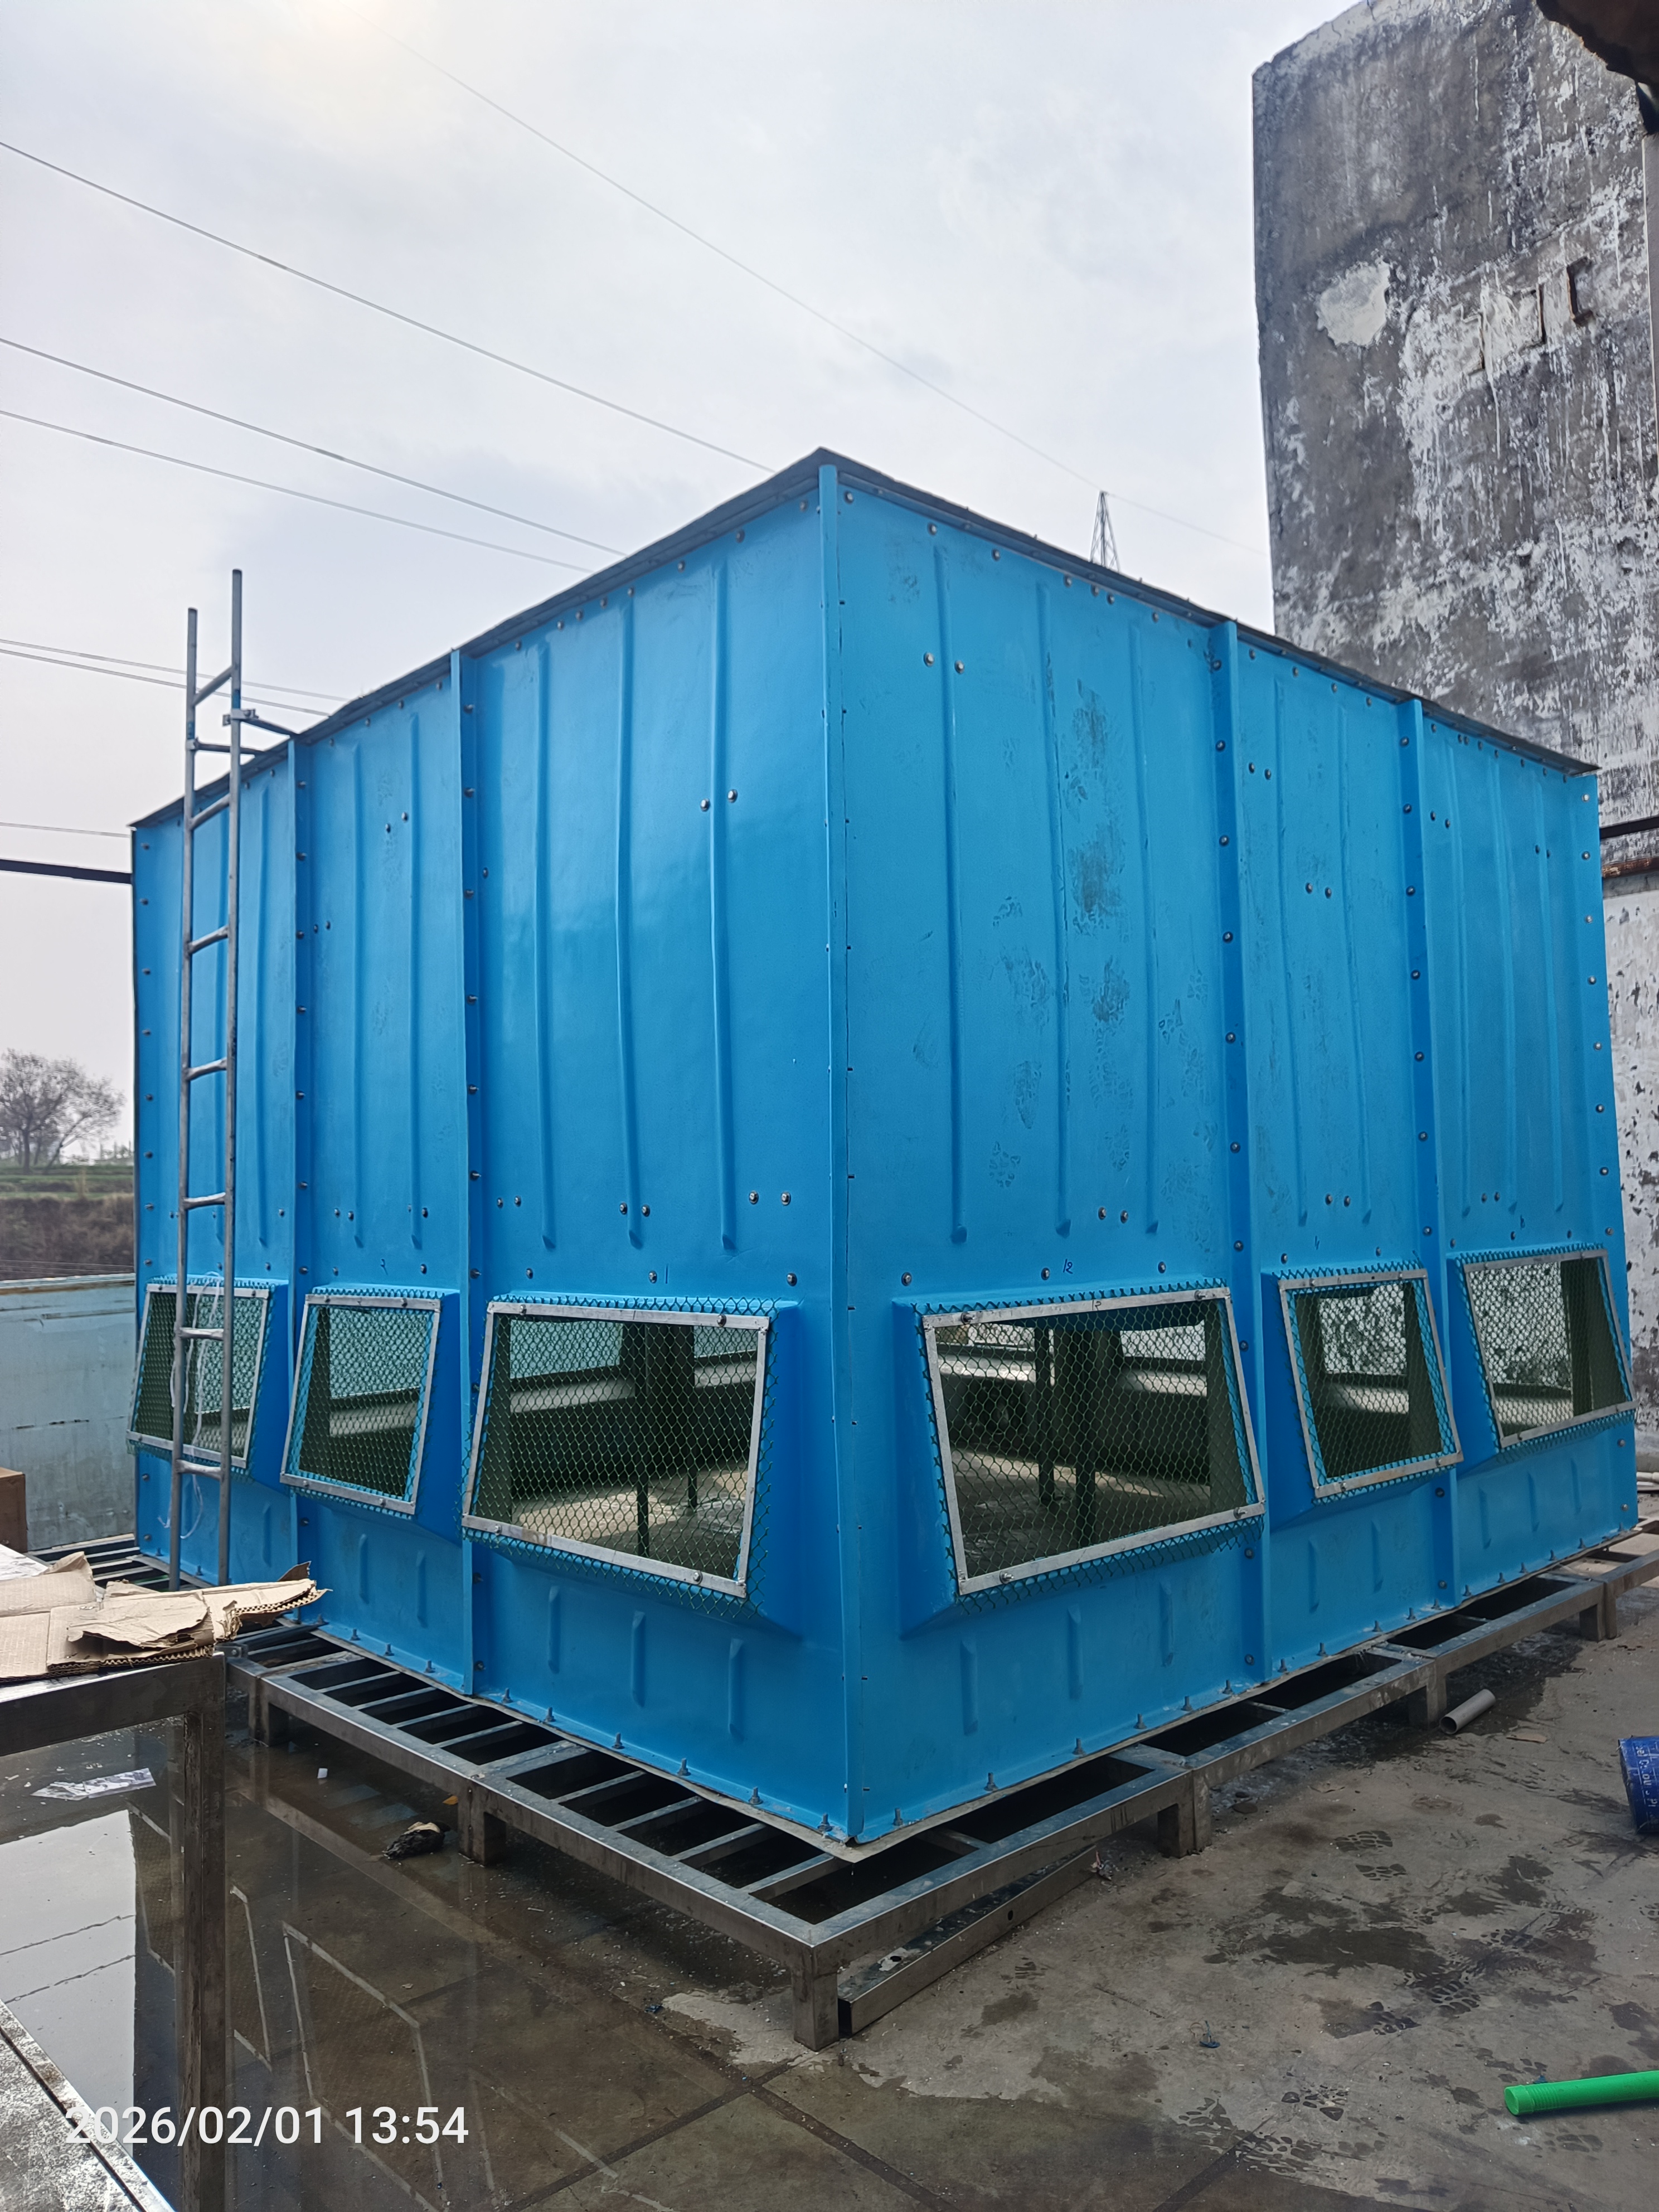
A 120 TR cooling tower is typically delivered as a single cell or in two main sections (the basin and the casing).
Safety First: Use certified spreader bars to prevent the lifting cables from crushing the fiberglass or galvanized casing.
Leveling: The unit must be perfectly level. An unlevel tower leads to uneven water distribution over the fill media, creating "dry spots" that drastically reduce cooling efficiency.
3. Piping and Plumbing Connections
Proper piping is the lifeline of your cooling system.
Inlet/Outlet: Ensure the pipe diameters match the tower’s flange sizes to prevent pressure drops.
The Equalizer Line: If you are installing this 120 TR unit alongside another tower, an equalizer line is essential to balance water levels between the two basins.
Vibration Isolation: Use flexible connectors (braided hose or rubber expansion joints) to prevent pump vibrations from cracking the cooling tower’s connections.
4. Electrical and Fan Alignment
The heart of the 120 TR tower is the motor and fan assembly.
Wiring: Ensure the motor is wired for the correct voltage and integrated into your Building Management System (BMS).
Fan Pitch: Check that the fan blades are pitched correctly according to the manufacturer’s specs to move the required CFM (Cubic Feet per Minute) of air.
VFD Installation: We highly recommend a Variable Frequency Drive (VFD) to allow the fan to scale its speed based on the heat load, saving significant energy costs.
5. Water Treatment Integration
You cannot run a 120 TR system on "raw" water. Without treatment, scale and legionella can become major risks.
Chemical Feeders: Install automated controllers to manage pH and biocide levels.
Filtration: Consider a side-stream filter to remove debris that enters the open-loop system from the atmosphere.
Final Commissioning Checklist
Before full startup, perform these quick checks:
Check for Leaks: Fill the basin and check all seams.
Rotation Check: Ensure the fan is spinning in the correct direction (pulling air up).
Float Valve Adjustment: Set the make-up water float so it shuts off before hitting the overflow drain.
Ready to optimize your facility's cooling? A 120 TR cooling tower is a workhorse, but its performance is only as good as its installation. Stick to these steps to ensure your system runs cool for decades to come.